Maverick Render 2026.2 - Camera Match using fSpy
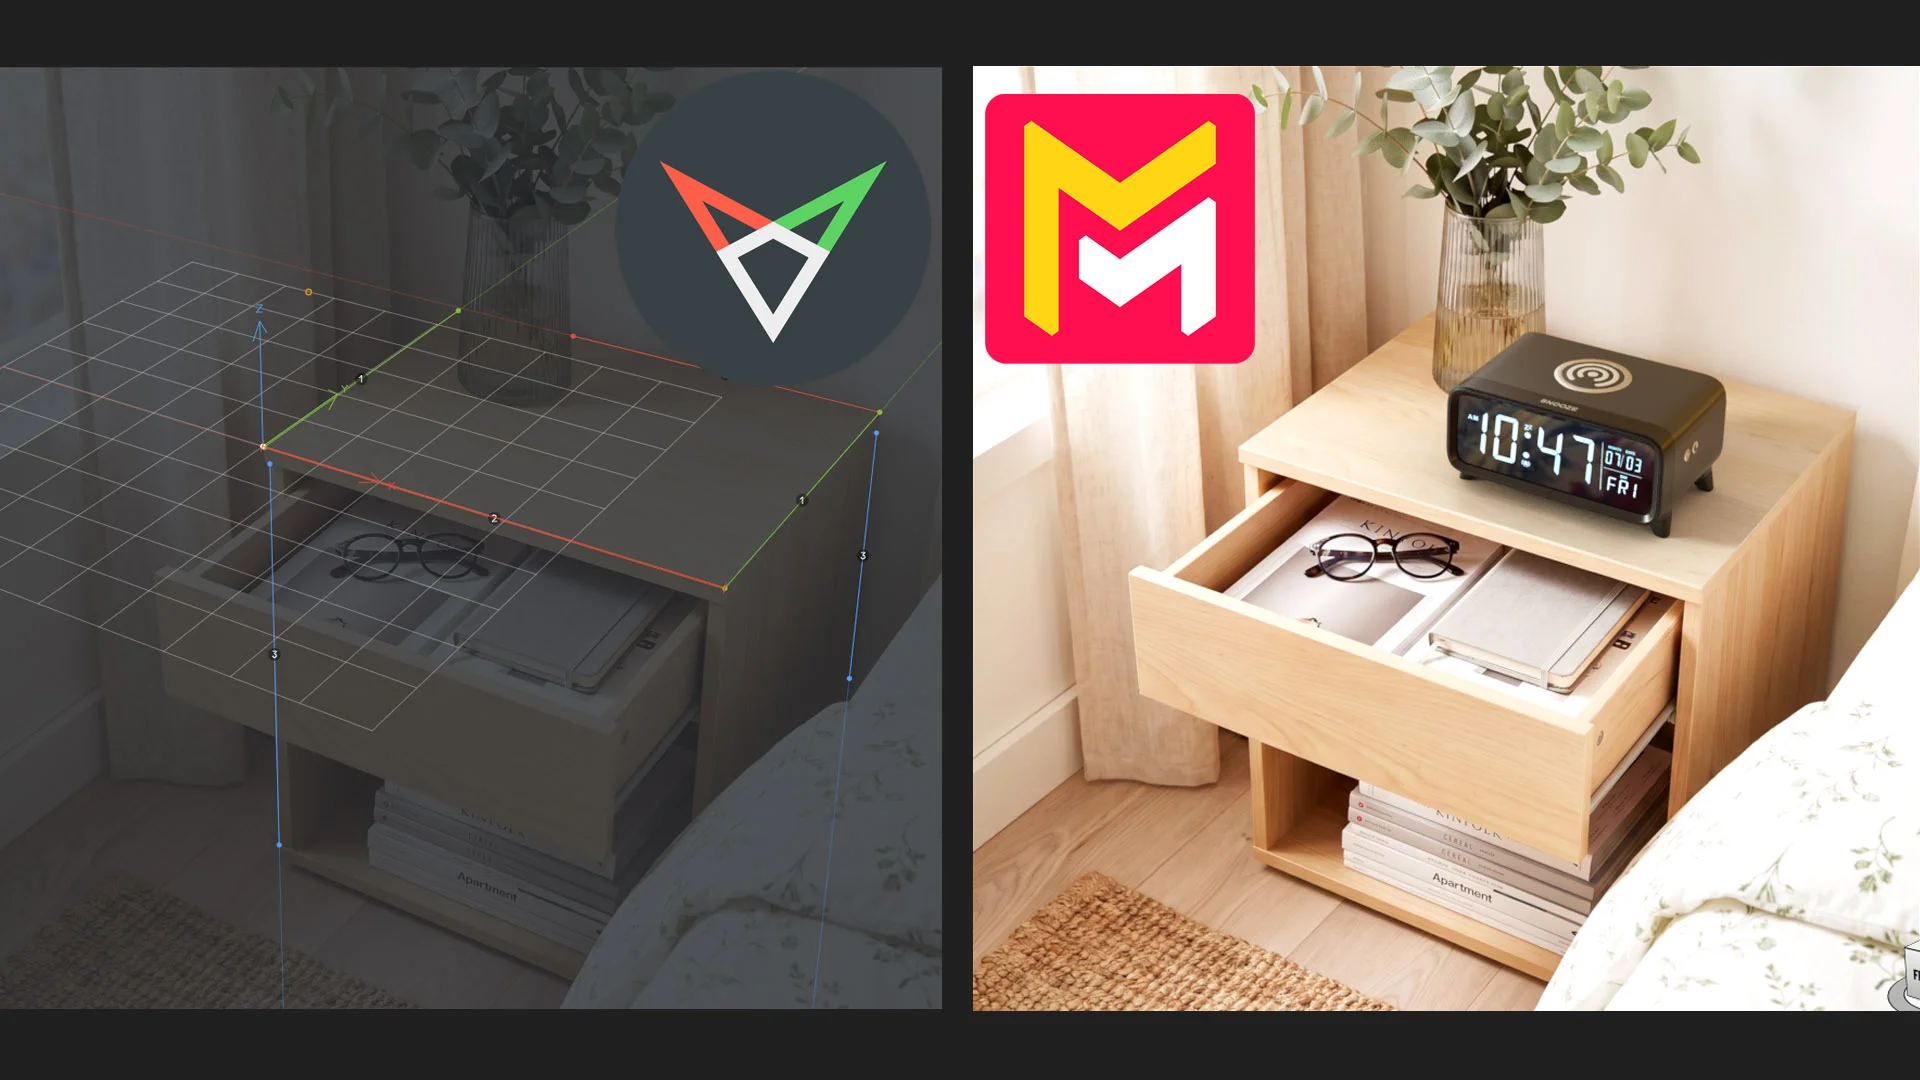
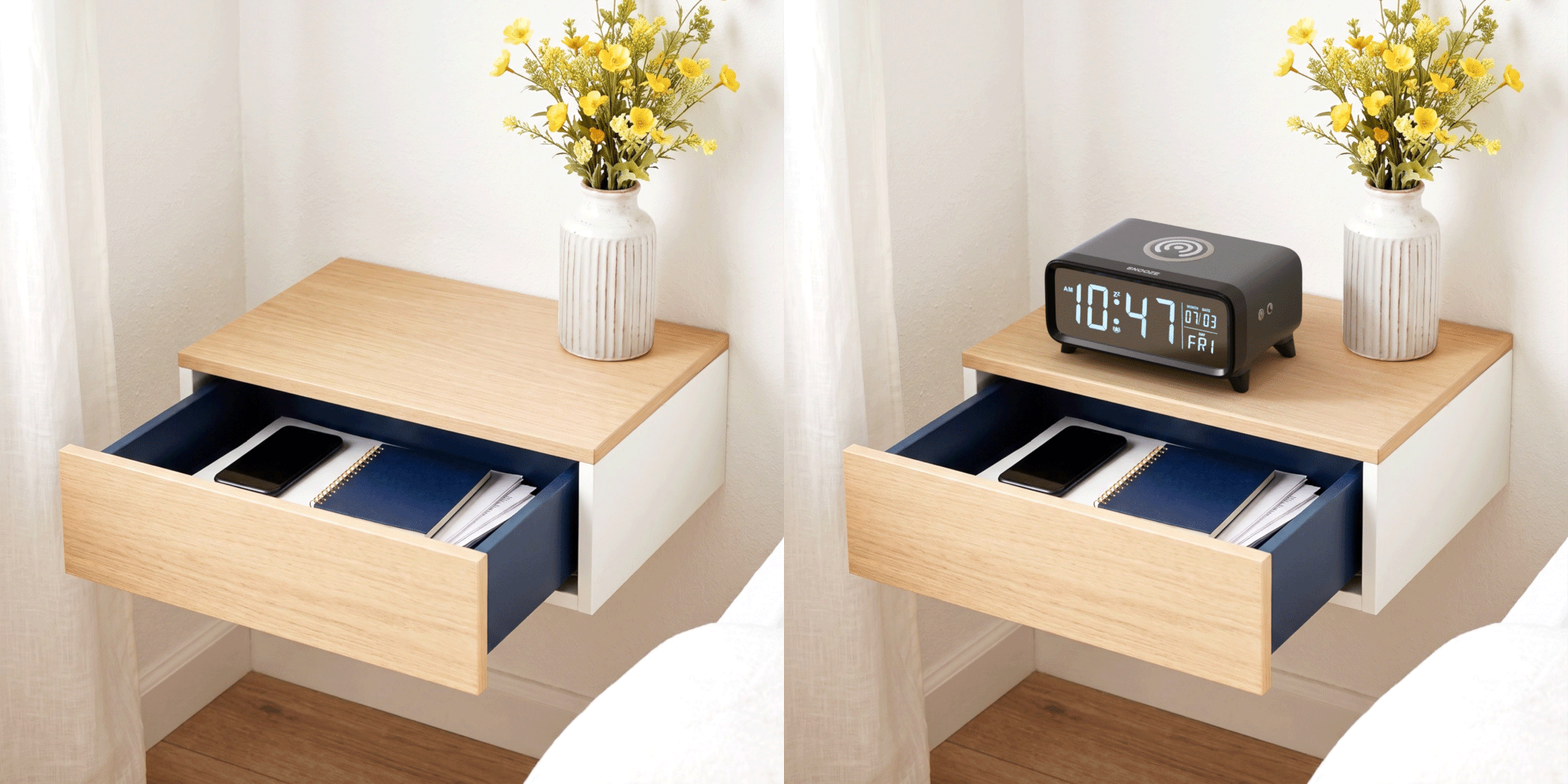
We have all experienced the frustration of integrating a high-fidelity 3D model into a professional plate, only to find the result looks fundamentally "off." Despite the quality of the geometry, the object often appears to be floating or disconnected from its environment, immediately shattering the illusion of reality. Achieving a perfect perspective match manually is a notoriously difficult task that often leads to uncanny-valley results.
Fortunately, the synergy between fSpy and Maverick Render 2026.2 transforms camera matching from a tedious chore into a precise, streamlined workflow, allowing for mathematically perfect composites in a fraction of the time.

What is fSpy?
fSpy is a completely free, open-source application designed to calculate a camera's parameters, like focal length, position, and orientation, based on the vanishing points of a single 2D image. It is lightweight, incredibly easy to use, and eliminates the guesswork from perspective matching.
The fSpy Workflow
Calculating your camera involves a straightforward visual process:
- Import your Backplate: Simply drag and drop your background image into the fSpy interface.
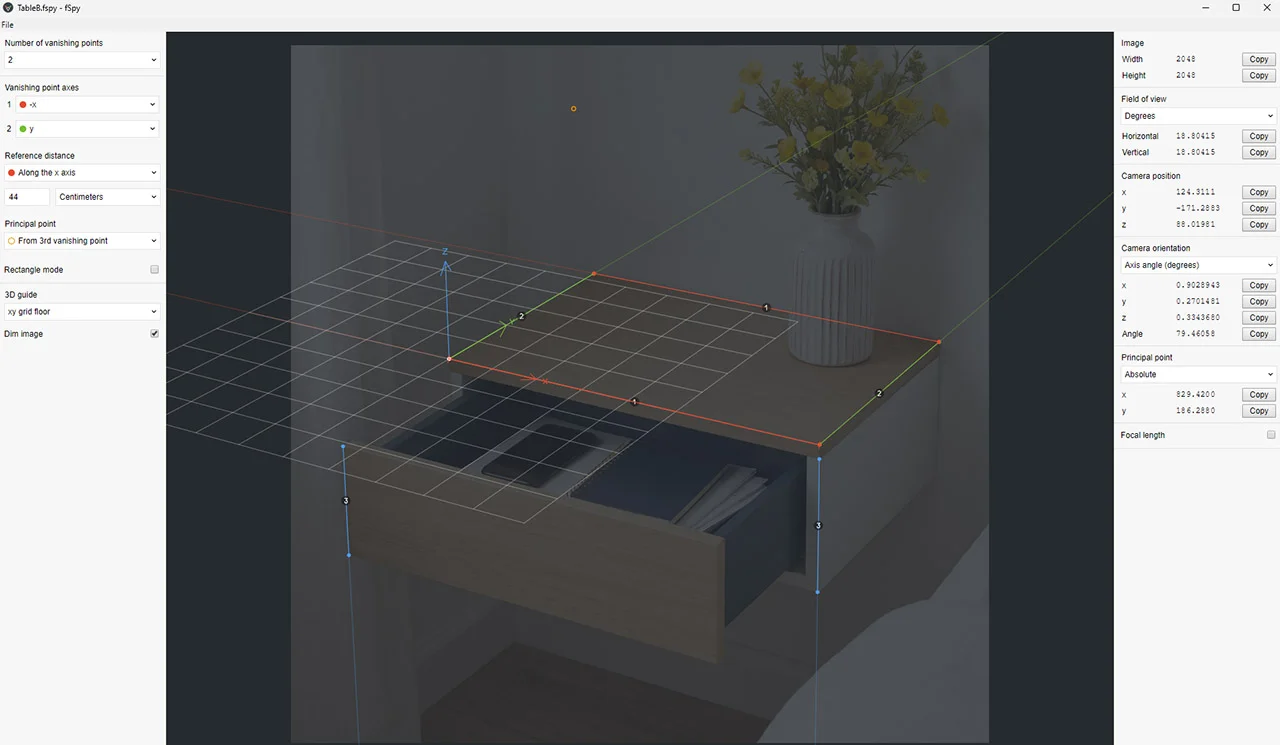
- Align the Axes: Snap the control points of the X and Y axes onto the natural vanishing lines of your photograph (like the edges of a table, walls, or architectural details). You can hold
Shiftfor pinpoint magnification and accuracy. - Set the Origin: Use the 3D Guide (like an XY plane) to define the coordinate origin of your scene.
- Establish Real-World Scale: This step is crucial for realistic integration. By enabling the Reference distance, you can specify the exact real-world measurement of an object in the photo (e.g., setting a table edge to 46 centimeters).
- Save: Export the setup as an fSpy file.
Bringing it into Maverick Render
Once you have your calculated file, Maverick's new built-in fSpy importer makes integration instant:
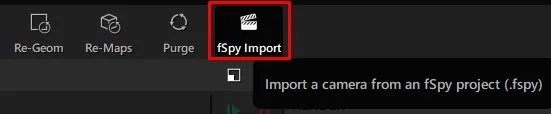
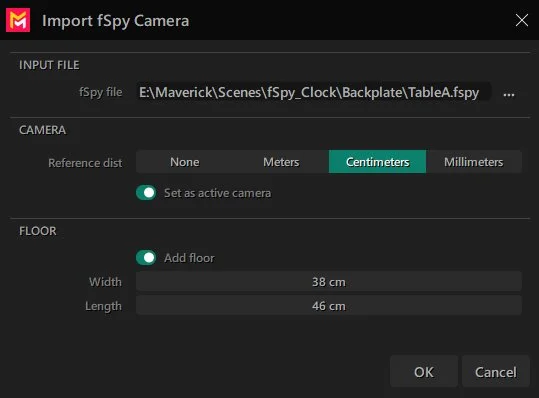
- Instant Camera Creation: Import the fSpy file directly into Maverick. The software will automatically create an active camera that perfectly mirrors the perspective of your original photo.
- Automatic Floor Planes: The importer can automatically generate a floor plane matched to your exact real-world dimensions.
- Backplate Setup: Dragging the original photo into the IPR assigns it as a Backplate. A simple click sets the render resolution to match the image perfectly.
Perfecting the Composite
With the geometry placed in a mathematically accurate space, the final steps involve blending the virtual and real worlds:
- Shadow Catchers: Apply a Shadow Catcher material to your floor plane. This material remains completely transparent while accurately receiving shadows cast by your 3D models, grounding them into the photo. You can even sample the shadow color directly from the backplate for a natural blend.
- Lighting Match: Recreate the lighting scenario of the photograph. You can use primitive shapes (like a chrome sphere) to analyze the environment and position Spotlights or HDRIs to match the direction and tone of the real-world light source.
- Trace Sets for Complex Interactions: If your 3D object needs to cast a shadow onto an object that already exists in the photograph (like a vase), you can create proxy geometry and use Trace Sets to manage shadow exclusions, preventing unrealistic double-shadows.
By combining the mathematical precision of fSpy with the physically accurate rendering engine of Maverick, compositing your products into real-world environments is no longer a challenge, but a fast and satisfying creative process.
We've prepared a full video tutorial walking through the entire workflow:
--
As always, thanks for watching!